Alright, you've decided to build a shed. You're looking for a place to store tools, bikes, or maybe even create a little workshop. But the thought of hiring a contractor makes your wallet weep. Don't worry, my friend! You can build a sturdy, functional 10x12 shed without emptying your bank account. Let's dive in, and I'll walk you through every step.
First Things First: The Planning Stage
Before you start swinging a hammer, you need a solid plan. Think about what you'll store in the shed, and consider how you'll access it. Here's a checklist:
Location, Location, Location: Choose a level spot that's close to your house but not in the way. Make sure you have access to electricity and water if needed.
Foundation: Decide on your foundation. Concrete is the most durable, but it can be expensive. Gravel pads or pressure-treated skids are cheaper options.
Materials: Do your research and compare prices. Pine is a classic choice, but pressure-treated lumber is essential for the floor and bottom plates.
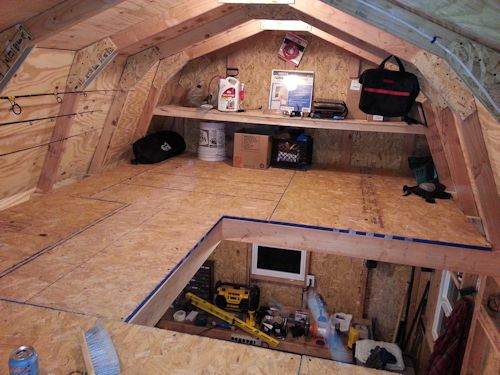
Design: Sketch out your shed. Think about the roof pitch, doors, windows, and any internal shelves or workbenches you want to add.
Step 1: Setting Up the Foundation
This is the base of your shed, so make sure it's strong!
Concrete Slab: If you're going with concrete, pour a 4-inch thick slab with rebar reinforcement. Don't forget to use a level!
Gravel Pad: Level the ground and lay down a 6-inch layer of gravel. Compact it well.
Skids: If you're using skids, make sure they're pressure-treated and leveled. You'll need at least four skids for a 10x12 shed.
Step 2: Framing the Floor
Time to start building!
Joist Layout: Cut your floor joists to the length of the shed. Space them 16 inches apart, and rest them on top of the foundation.
Subfloor: Lay down a layer of plywood for your subfloor. Make sure the plywood sheets are staggered for extra strength.
Step 3: Erecting the Walls
This is where it starts to look like a real shed!
Wall Framing: Cut your wall studs to the desired height. Use pressure-treated lumber for the bottom plates.
Sheathing: Attach plywood sheathing to the exterior of the walls for stability and structure.
Doors and Windows: Measure and cut openings for doors and windows. Install the door and window frames now.
Step 4: Building the Roof
Let's get this roof on!
Rafters: Cut your rafters to the correct length and angle. Use a roof framing square to get the precise angle.
Sheathing: Attach plywood sheathing to the rafters. You can use OSB (oriented strand board) for a less expensive option.
Shingles: Apply roofing shingles, starting at the bottom of the roof.
Step 5: Siding, Trimming, and Finishing
The final touches!
Siding: Install your chosen siding. Vinyl siding is relatively cheap and easy to maintain.
Trim: Add trim around doors, windows, and corners for a finished look.
Roofing Underlayment: Before installing the shingles, lay down roofing underlayment for added water protection.
Step 6: Painting or Staining
Time to add some color!
Choose a Paint or Stain: Consider the weather conditions in your area. Oil-based paints are more durable but can be more expensive.
Prime the Wood: Before painting or staining, prime the wood to seal it and improve the paint's adhesion.
Saving Money: The DIY Advantage
Here are some ways to keep costs down:
Shop Around: Compare prices at different lumber yards and hardware stores.
Look for Sales: Keep an eye out for sales and discounts on materials.
Recycle and Reuse: Repurpose old materials whenever possible.
Don't Be Afraid to Ask for Help: If you need help with a particular task, ask a friend or family member who's handy.
Safety First!
Always wear safety glasses and gloves.
Use a level for everything.
Double-check your measurements.
Ask for help if you're unsure about something.
Building a Shed is a Rewarding Experience
Building a shed is a great way to save money and learn new skills. With a little planning and effort, you can create a functional and attractive space to store your belongings or pursue your hobbies. Remember, it's okay to make mistakesâ€"that's how we learn! Enjoy the process, and be proud of your accomplishment.
Sign up here with your email
ConversionConversion EmoticonEmoticon