:max_bytes(150000):strip_icc()/2-eefda62429804cc990e1f8dd4a783e08.jpg)

Essential Tools to Build a Shed - Outdoor Shed Spot
Â

43 Perfect Garage Storage Solutions Ideas - decoomo.com | Shed storage
Building a Shed for Garden Tools: Simple DIY Plans
Building a shed specifically for garden tools is a practical and rewarding project that can enhance your backyard's organization and aesthetics. With a few simple steps, you can create a functional and attractive space to store all your gardening essentials. This guide will walk you through the process, providing easy-to-follow plans and tips to ensure your DIY shed meets all your needs.
1. Planning Your Garden Tool Shed
Before you begin construction, it's important to plan your shed carefully. Consider the following factors:
- Size: Assess how much space you need for your tools. A small shed (6x8 feet) is usually sufficient for most gardeners.
- Location: Choose a spot in your backyard that is convenient for accessing your tools but doesn't obstruct other outdoor activities.
- Design: Decide whether you want a traditional gable roof, a lean-to style, or a more customized design. Your choice should complement your garden and home.
2. Materials You'll Need
For this simple DIY garden tool shed, you'll need the following materials:
- Pressure-treated lumber for framing
- Exterior-grade plywood or OSB (Oriented Strand Board) for walls
- Roofing materials (shingles, metal roofing, or corrugated plastic)
- Concrete blocks or gravel for the foundation
- Hinges, handles, and latches for the door
- Paint or wood stain for finishing
- Screws, nails, and other hardware
3. Building the Foundation
A solid foundation is crucial for the durability of your shed. You have two main options:
- Concrete Block Foundation: Arrange concrete blocks on leveled ground, ensuring they are spaced evenly to support the shed's weight.
- Gravel Foundation: Excavate the ground to a depth of about 6 inches, fill it with gravel, and compact it to create a stable base.
4. Framing the Shed
Start by building the floor frame using pressure-treated lumber. Once the floor is in place, construct the walls separately on the ground before raising them. Make sure to include openings for the door and any windows you plan to install. Secure the walls to the floor and to each other.
5. Adding the Roof
Depending on your chosen design, build and attach the roof. For a gable roof, construct trusses and attach them to the top of the walls. For a lean-to roof, attach rafters at an angle. Cover the roof with your chosen material, such as shingles or metal sheets, ensuring it's weatherproof.
6. Installing the Door and Windows
Cut out the door opening and install the door using hinges. Add a latch or lock to keep your tools secure. If you’re adding windows, now is the time to install them. Make sure they are well-sealed to prevent leaks.
7. Finishing Touches
Finish your shed by applying paint or wood stain to protect the wood from the elements. You can also add shelving, hooks, and other organizational features inside the shed to maximize storage space.
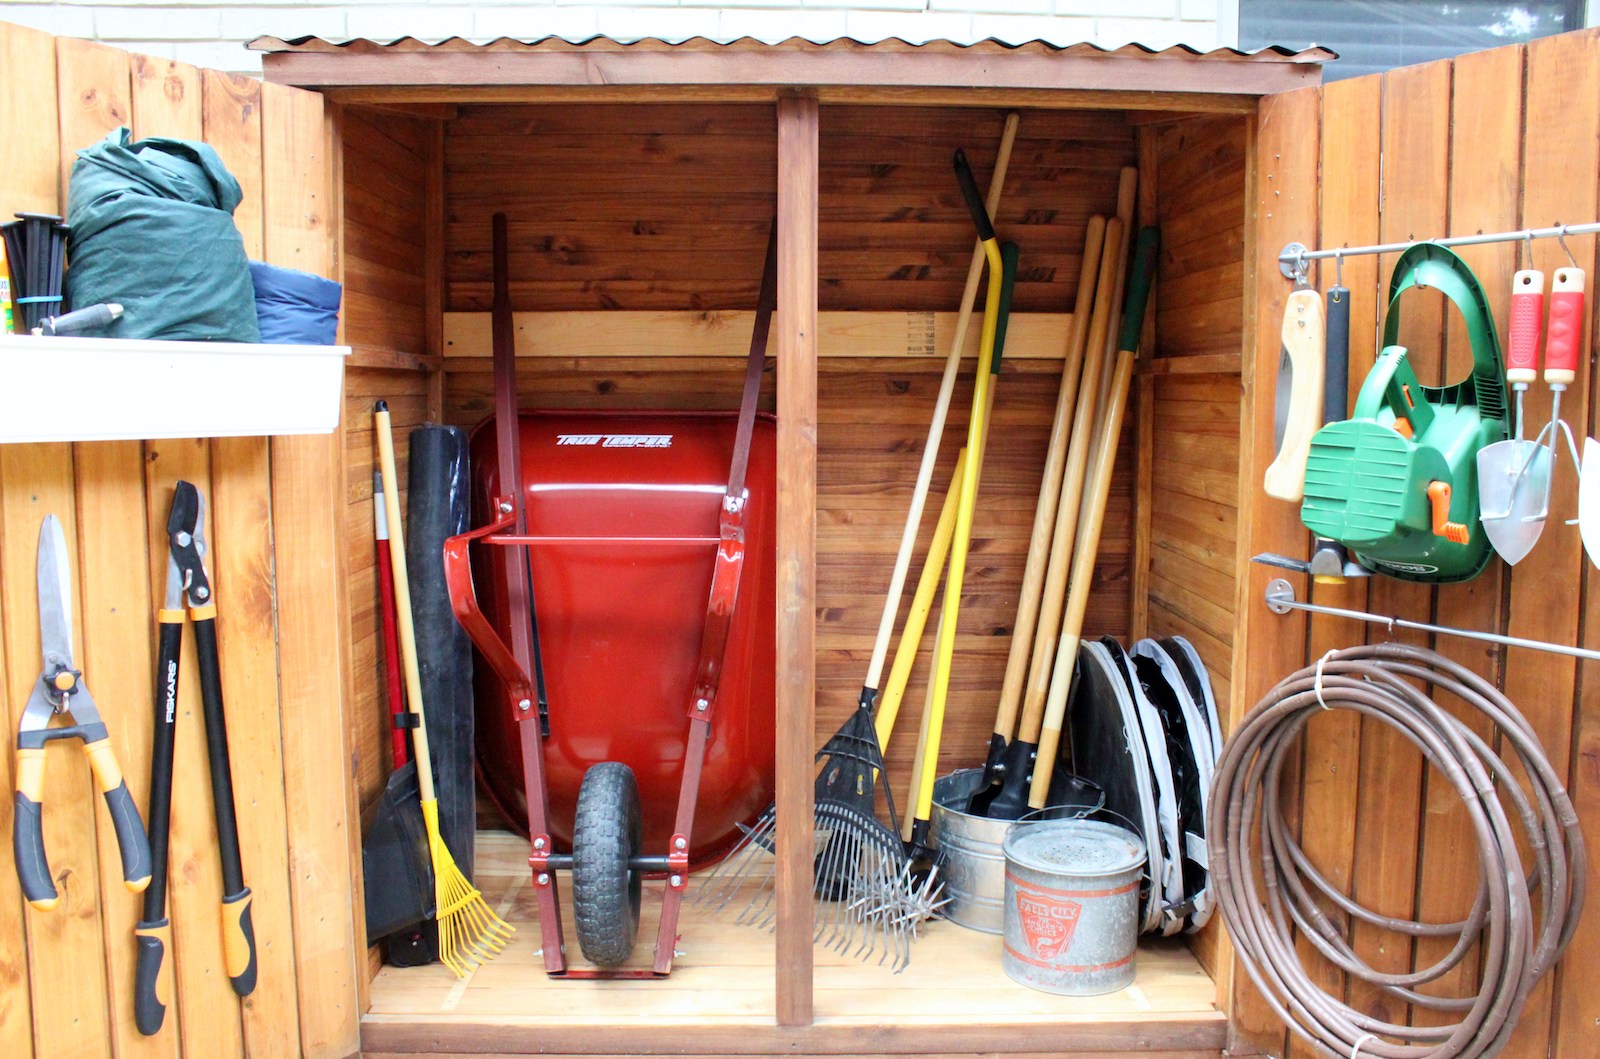
8. Organizing Your Tools
With the shed complete, it's time to move your garden tools in. Use pegboards, wall hooks, and shelves to keep everything in order. Designate spaces for different tools, such as rakes, shovels, and hand tools, to make your gardening tasks easier and more efficient.
9. Maintaining Your Shed
Regular maintenance will keep your shed in top condition. Inspect the roof and walls for damage, touch up the paint or stain as needed, and ensure the door and windows are functioning properly. Keeping your shed clean and organized will extend its lifespan and make it a pleasure to use.
Final Thoughts
Building a shed for garden tools is a straightforward DIY project that can be completed in a weekend with the right planning and materials. Not only will it provide a dedicated space for your tools, but it will also enhance the overall look and functionality of your backyard. Whether you're a seasoned DIY enthusiast or a beginner, this project is a great way to add value to your outdoor space. Happy building!
Sign up here with your email
ConversionConversion EmoticonEmoticon